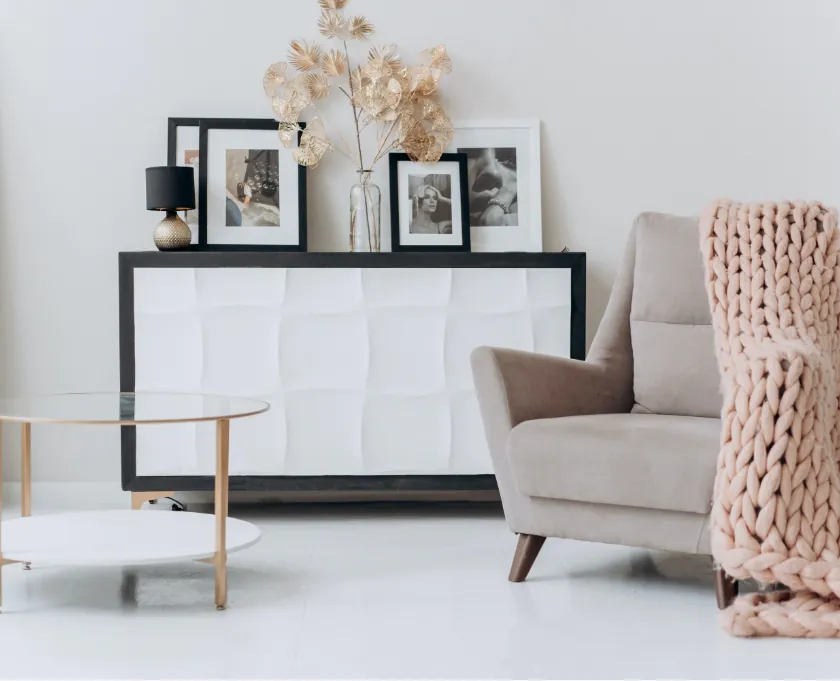
Ever walked into a room and felt… blah? Maybe your media console looks less “curated masterpiece” and more “pile of dusty boxes.” Well, dear DIY darling, fear not! You don’t need a master craftsman’s degree, or a workshop that smells faintly of aged lumber and expensive mistakes. We’re going to transform some basic, humble materials into a stunning, personalized media console that whispers “I made this!”
If the idea of power tools makes your fingers tingle with existential dread, take a deep breath. This project is designed for absolute beginners—the kind of glorious newbie who owns a hammer, a helpful YouTube video, and an unreasonable amount of optimism. By the end of this whimsical journey, you’ll have a piece of furniture that’s as unique as your laugh.
Ready to trade your “blah” for “WOW”? Let’s gather our metaphorical (and maybe literal) supplies!
🪵 The Treasure Chest: Materials You’ll Need
The beauty of DIY is that we work with what nature (and the hardware store) provides. Don’t worry about fancy woods—we’re keeping it simple and budget-friendly.
- Basic Wood: Pine boards, plywood sheets, or even reclaimed pallet wood (if you’re feeling extra rustic!) are your best friends. Pine is wonderfully forgiving for beginners.
- Fasteners: A selection of wood screws (different lengths!), L-brackets (these little metal hugs are essential for stability!), and wood glue. Pro Tip: Never underestimate the power of good, strong glue.
- Finish: Sandpaper (a variety pack—coarse, medium, and fine!), wood stain or paint, and a clear protective sealant (polyurethane or wax).
- Bonus Flair: Drawer handles or simple knobs (these are the jewelry of your console!), and maybe some leftover trim pieces for a polished edge.
🛠️ The Magic Wand: Tools for the Novice Artisan
You don’t need a full industrial factory setup. Here is the essential, non-scary toolkit:
- Measuring Tape: For taking measurements that aren’t “roughly around here.”
- Pencil & Square: To draw perfectly straight lines (even if your life hasn’t been perfectly straight).
- Drill/Driver: The modern miracle worker. Get a few bits for different screw sizes.
- Saw (Optional, but helpful): A basic hand saw or a pre-cut set of boards will save you a trip to the lumber yard’s “I don’t know what to ask for” section.
- Safety Gear (Crucial!): Safety goggles and a dust mask. Treat yourself kindly by keeping your eyes and lungs safe.
🔨 The Grand Performance: Step-by-Step Assembly
We are essentially building a sturdy, rectangular box, and then adding some flair!
Step 1: Dream Mapping & Design (The Whimsical Phase)
Before you unscrew anything, decide on your dimensions. Think about what lives on this console. A TV? A stack of vinyl? A glorious plant collection?
- Measure: Measure the space where the console will go. Your console needs to be slightly smaller than this space to allow for airflow and breathing room.
- Sketch: Draw a simple picture. How many horizontal shelves? How tall should it be? Keep it simple! A three-section box is perfect for a first timer.
Step 2: Cutting & Preparation (The Methodical Phase)
Based on your plan, measure and cut your basic pieces. Remember to cut these carefully!
- The Base: The bottom-most board.
- The Sides: The two tall vertical boards.
- The Shelves: Any horizontal boards that will sit inside.
✨ Beginner Tip: If you are nervous about cutting, take your measurements and ask the lumber yard if they can pre-cut the boards for you. It’s a small fee for huge peace of mind!
Step 3: The Mighty Glue & Screws (The Assembly Act)
It’s time to bring the box to life!
- Glue First: Apply a generous bead of wood glue to all the connecting surfaces. This glue is your secret weapon; it adds strength that screws alone can’t match.
- Screw Second: Use your drill to pre-drill pilot holes (these tiny holes stop the wood from cracking). Align your pieces, secure them with screws, and give it a gentle, steady hand.
- Stabilize: Use the L-brackets on the inside corners for extra support. Think of them as tiny, supportive metal hugs for your furniture.
Step 4: Sand, Stain, and Shine (The Magical Polish)
Your console is built, but it needs its sparkle!
- Sanding: Start with your coarse sandpaper on any rough edges. Move to medium, and finish with the fine grit. You are removing the sawdust particles and making the wood feel divinely smooth.
- Staining/Painting: Apply your stain or paint following the manufacturer’s directions. Let it soak in, and then wipe away the excess.
- Sealing: Once the finish is completely dry, apply your protective sealant (polyurethane). This layer acts like a clear shield, keeping your masterpiece safe from spills and time’s cruel little dampness.
Step 5: The Final Flourish (The Grand Reveal!)
Screw on those drawer knobs, stack your favorite books, and let your media shine! Your brand-new, gorgeous, and slightly quirky media console is ready for its moment in the spotlight.
🌈 SEO Deep Dive: Making It Last
To keep your DIY Media Console standing strong (and to help it rank online!), remember these golden rules:
- Balance is Key: Make sure the console is sturdy enough to hold your TV and electronics, but not so heavy that it strains your little back.
- Ventilation: Leave a little space behind any electronics. Hot things need cool air!
- Customization: Don’t be afraid to mix and match! A whimsical vase here, a rustic basket there—the console is a canvas!